In Progress - Parisian Box
One of the joys of making bespoke pieces is the ability to interact with the client during the making of their piece.
This page follows the progress of a commission for a jewellery box - the client (who had ordered other boxes previously) specified a walnut box with a Parisian scene, featuring two ladies with dark hair in cocktail dresses and inscribed with the name 'Anthea'.
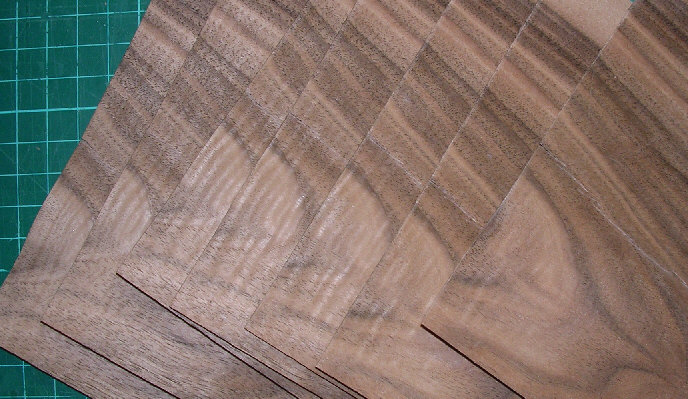
Veneers for the box
Two consecutive leaves are used to veneer the outside of the box, plus another for the inside edges.
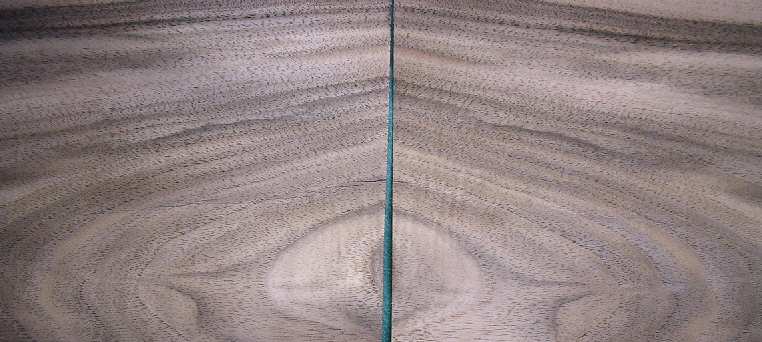
The Bookmatch
Two consecutive leaves are opened like a book. Each leaf is long enough to run from the centre of the front of the box to the centre of the back, and is wide enough to cover the whole of the side of the box plus some overlap which will be used for the borders on the top surface.
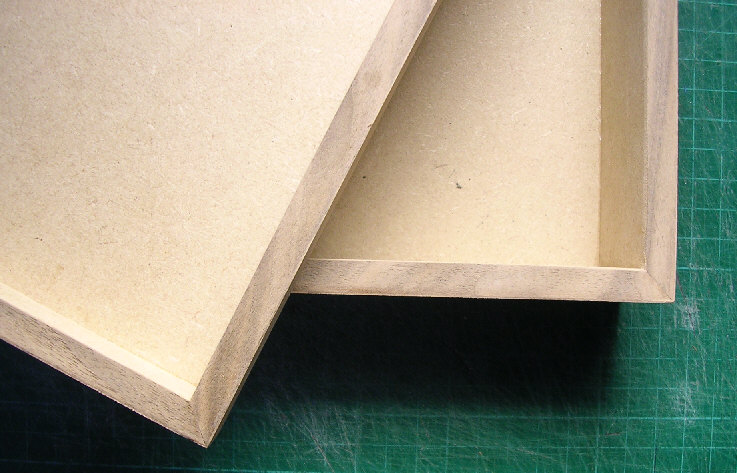
The Order of Veneering
The box is made from 'MDF' - medium density fibreboard, which is a stable material very suitable for veneering and marquetry. The first surfaces veneered are the inside edges of the box and lid. Small magnets are inserted into the front edge before veneering to give the box a positive closing action.
Each subsequent piece is added in the order back, then sides, then front. This minimises the number of exposed edges seen from the usual viewing point of the box.
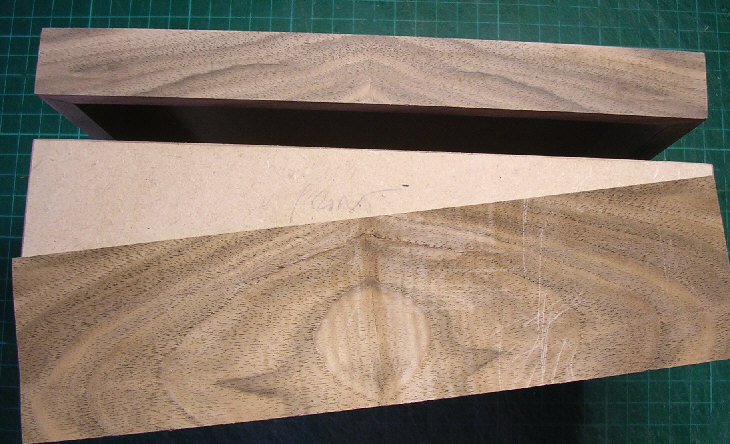
Veneers for the box
The box front is the last of the sides to be applied ... but this one needs some marquetry first ...

Marquetry for the Front Panel
The design is printed at the correct size and taped in position.
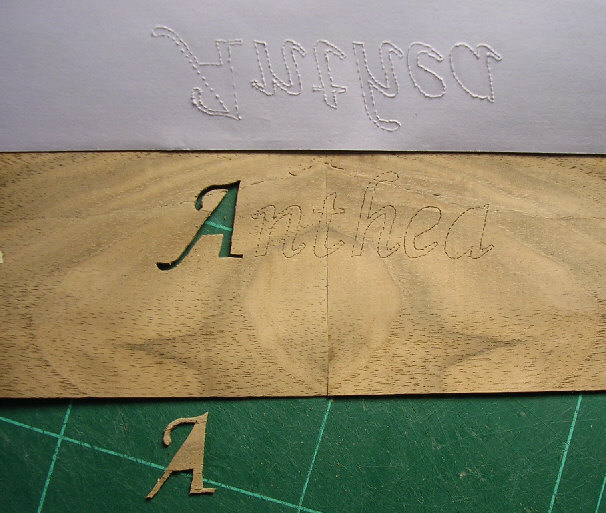
Marquetry for the Front Panel
The design is cut through the paper to mark the background veneer (which has been lightly sanded to make the marks easier to see, and taped on the back to give strength). The individual letters are then cut out, retaining the centres of the hollow letters "A", "e" and "a" so that the correct piece of background can be cut back to complete the letter.
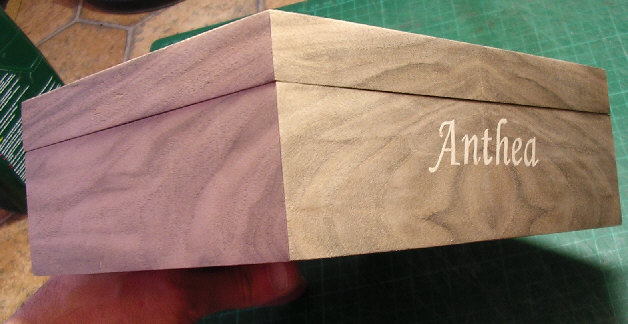
Marquetry for the Front Panel
Once the design is completed, the front of the box is applied. Notice how the grain is continuous from lid to box, and from front to side.
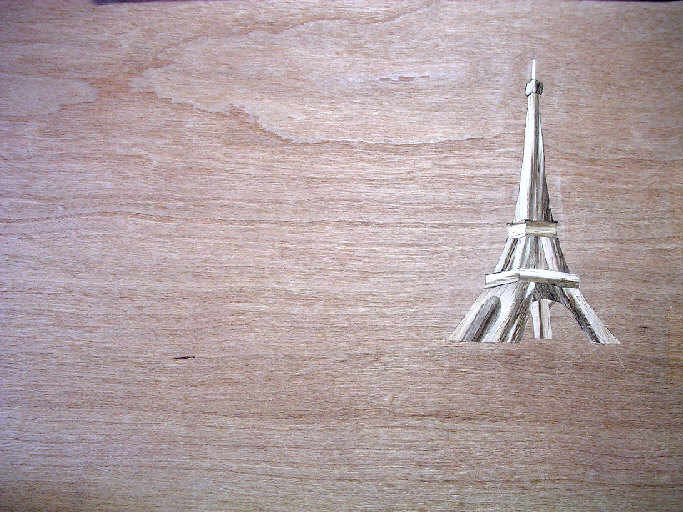
Marquetry for the Top
The Eiffel Tower is a very complicated structure - while a high level of detail is possible in marquetry, the time required would greatly increase the price. Instead, careful veneer selection (here using Zebrano) implies the detail and the mind of the viewer does the rest.
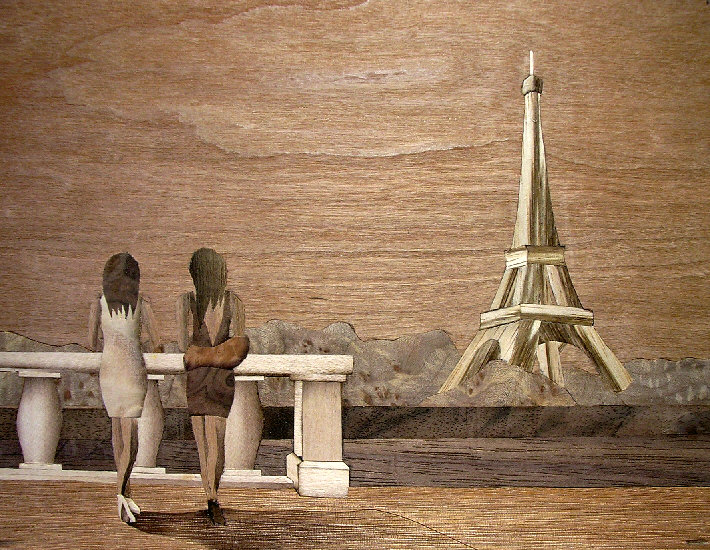
Marquetry for the Top
Nearing completion - dark American black walnut representing the River, a ballustrade to "support" the figures, and the figures themselves cut in.
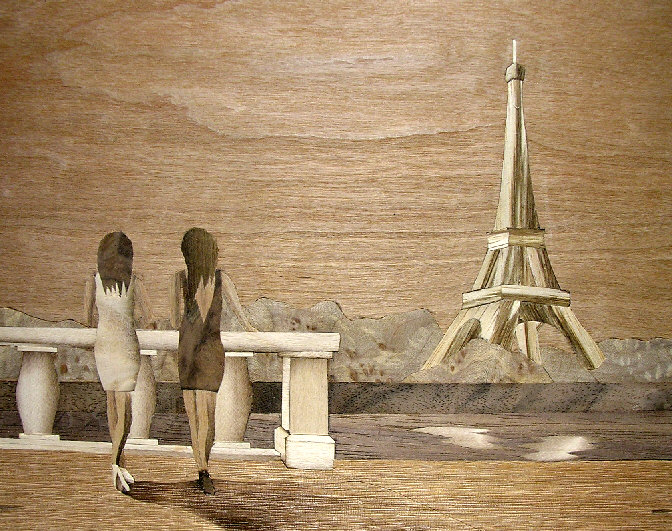
Marquetry for the Top
A minor change. The client wasn't sure about the shawl worn by the girl on the right, so this was changed. Some reflections were also added.
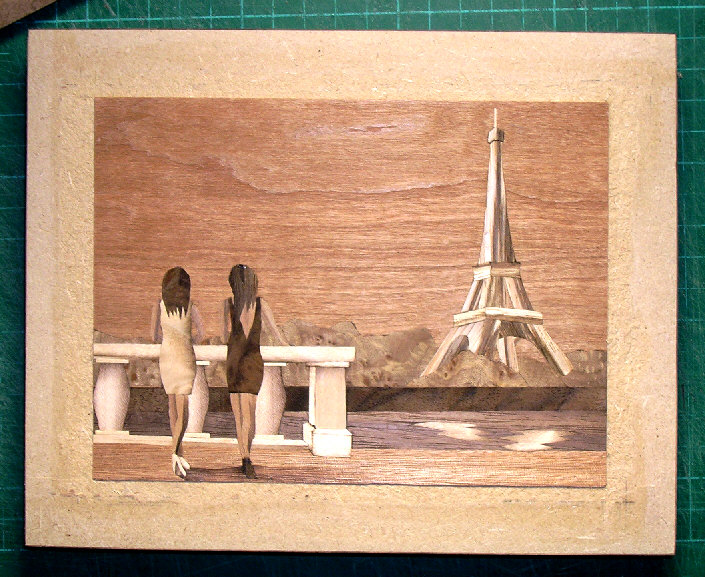
Marquetry for the Top
With the design completed, it is stuck onto the top of the box and then trimmed back to leave even spaces for the borders.
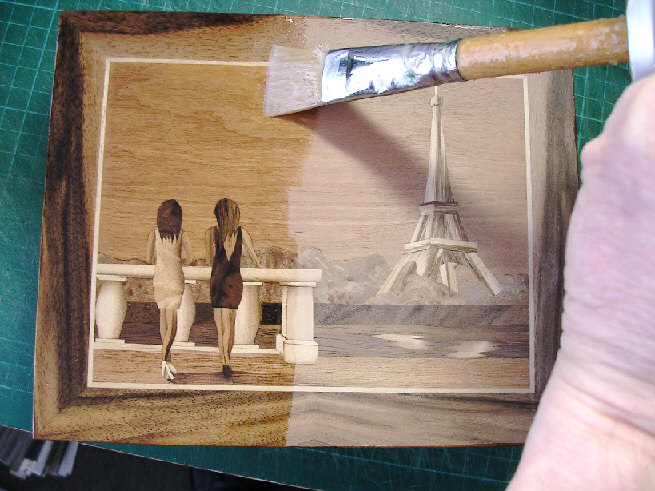
Lacquering and Polishing
With the stringers and borders added and neatly mitred to the corners, the next stage is the magical moment when the first coat of lacquer brings out the true colours of the veneers. It's not always plain sailing ... sometimes a feature that stood out nicely from its background before the finish was applied can end up close in tone to the background and "disappear". All is well this time though!
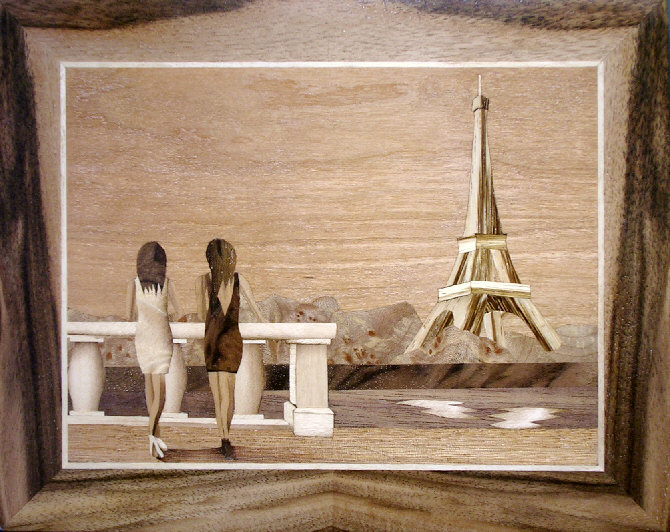
Lacquering and Polishing
Layers of lacquer are built up - each one being rubbed down carefully before the next is added - until the pores in the grain of the veneers are filled and the surface is silky smooth.
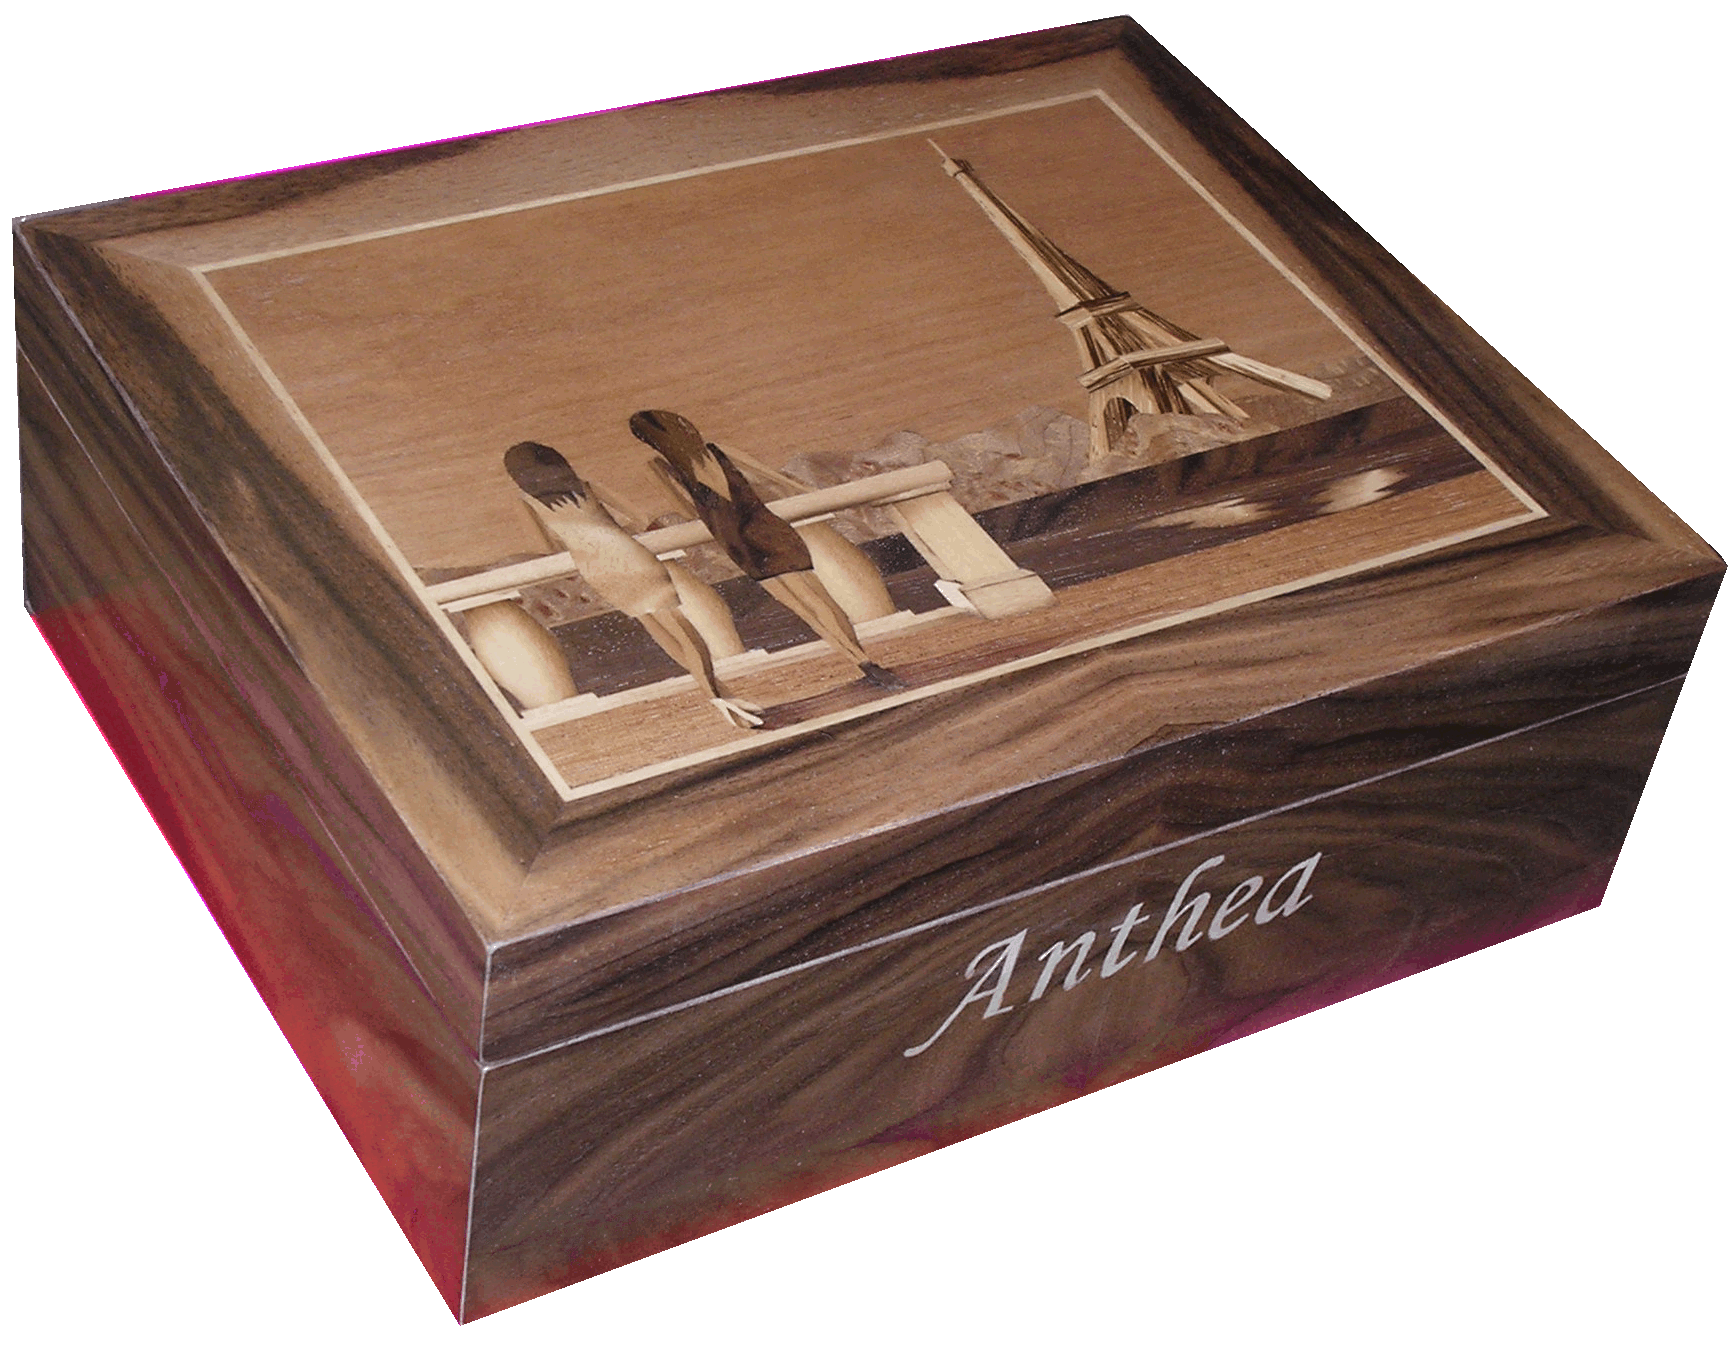
The Finished Box
© 2012-2026 QJS Marquetry - All Rights Reserved
Please see our Terms & Conditions and our Cookie Policy
QJS Marquetry
15 Newport Road, Eccleshall, ST21 6BE
01785 850614
